
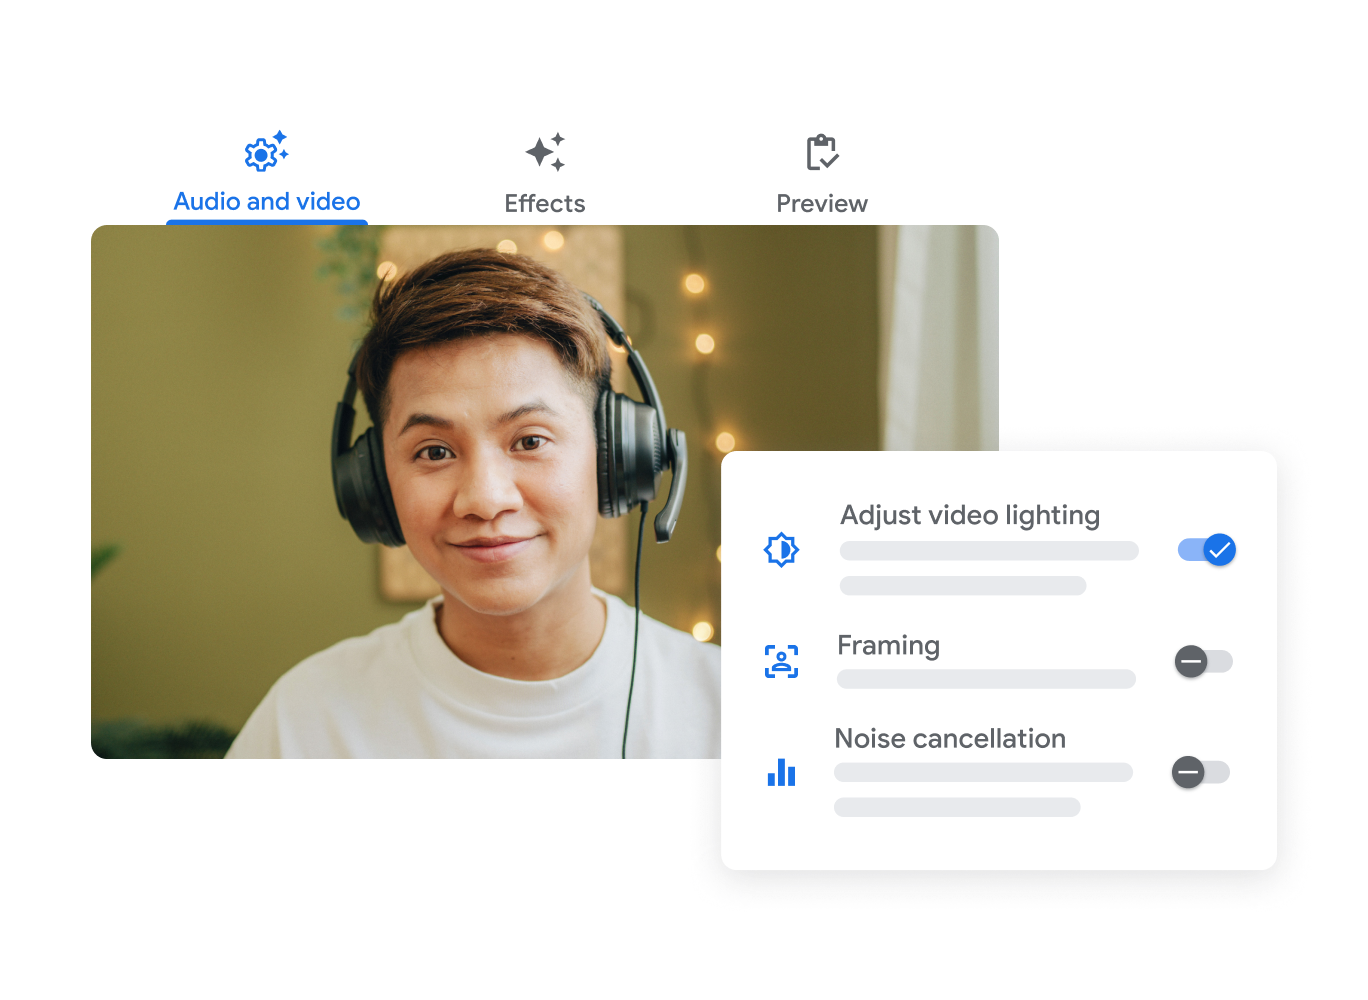
Change your background
Change your background
- Go to Google Meet, then select a meeting.
- Optional: Blur background in Google Meet
- In the bottom right of your self view, click “Apply visual effects”.
- Choose from the options:
- “Blur your background” for full blur.
- “Slightly blur your background” for a subtle effect.
- To select a pre-uploaded background, click a background.
- To upload your own image for your background, click Upload a background image Add photo.
- To add a style to your video, click a style.
- To select a filter, at the bottom, tap Filters, then tap the filter you want to use.
- Tip: If the filter is interactive, turn on the feature following the instructions on the screen.
- Click Join now.
Change your background with Gemini

Create a background image before a meeting
- On a computer, open meet.google.com.
- Select the desired meeting.
- In the bottom right of your self view, click “Apply visual effects”.
- Select “Generate a background”.
- Enter a prompt. For example:
- “Interior of a luxurious living room”
- “A magical, sunny forest clearing”
To optimize results, consider adding a reference to a style or mood, an environment, and objects in the scene. For example: “A bright flower shop smelling of roses.”
Optional: Choose a style to customize the background image. To see background image suggestions, click “Create samples”.
- Edit the prompt at the top of the right panel and click “Create other samples”.
- See more suggestions by clicking “Create other samples”.
- Select a generated image to use as your meeting background.
- Click “Close” to exit “Generate a background” settings.
Create a background image during a meeting
- On a computer, open meet.google.com.
- Join a meeting.
- At the bottom, click More options More, then Apply visual effects, and then Generate a background.
- Enter a prompt. For example:
- “Interior of a luxurious living room”
- “A magical, sunny forest clearing”
- Tip: For best results, consider adding a reference to a style or mood, an environment, and present objects. For example: “A cozy coffee shop decorated with flowers.”
- Optional: You can select the style to customize the created image.
- To preview suggested background images, click “Create samples”.
- Optional: After creating samples, you can:
- Edit a prompt, locate the prompt in the top right corner, click on it, make the necessary modifications, and select the option “Create other samples”.
- Explore more suggested backgrounds: Click “Create other samples”.
- Optional: After creating samples, you can:
- To use a generated image as your meeting background, click on it.
- To complete setting up “Generate a background”, click Close.
Customize who you see
Change how many participants you see during a call
When you change your layout:
- You can change how many people appear in the video call and how they are displayed.
- Changes are automatically saved and will be visible in future meetings.
- The number of participants shown in a meeting’s tile view varies depending on the dimensions of the browser window and whether content is being shared.
- On a computer, join a video call.
- At the bottom, click More → Customize and control Google Chrome.
- Change layout.
- Google Meet layout options:
- Auto (dynamic): Default layout that optimizes space by showing the most relevant content. Allows vertical tiles with automatic background cropping. The size and arrangement of tiles adjust according to:
- The size of your browser window.
- The number of participants.
- Whether there is an active presentation.
- Tiled (legacy): Fixed grid view without vertical cropping. Although it can show up to 49 people (16 by default without an active presentation), it does not use space as efficiently as dynamic layout. Reduces the likelihood that participants fall out of view.
- Adjust tiles: At the bottom of the screen, you can use the slider to select the number of visible tiles. The number of tiles you choose will become the default for future meetings until you change it. In some cases, you might see a message indicating your selection wasn’t saved; this may be due to computer processor performance limitations.
- Spotlight: The active speaker or shared screen fills the entire window.
- Sidebar: The main image is the active speaker or shared screen. You will see thumbnails of additional participants on the side.
Turn your self view into a floating image
- To make your self view float, point to your self view and then click Remove this tile.
- To move your floating self view, point to your floating self view and drag your self view to a corner of your screen.

View participant tiles
Participant tiles improve interaction and bring more people to eye level when looking into the camera.
- When someone is speaking, their tile will be highlighted and the speaker indicator will appear in the top right corner of their tile.
- When someone is muted, the mute indicator will appear in the top right corner of their tile.
- To see more participants, try zooming out in your browser.