NotebookLM
Tip: Each notebook is independent. NotebookLM cannot access information from multiple notebooks at the same time.
Start your first notebook
How to start using NotebookLM
- Open NotebookLM on your computer.
- Select “Create new notebook”.
- Add your sources:
- In the pop-up window, choose “Upload a source”.
- Select the files you want to include in your notebook or explore new options.
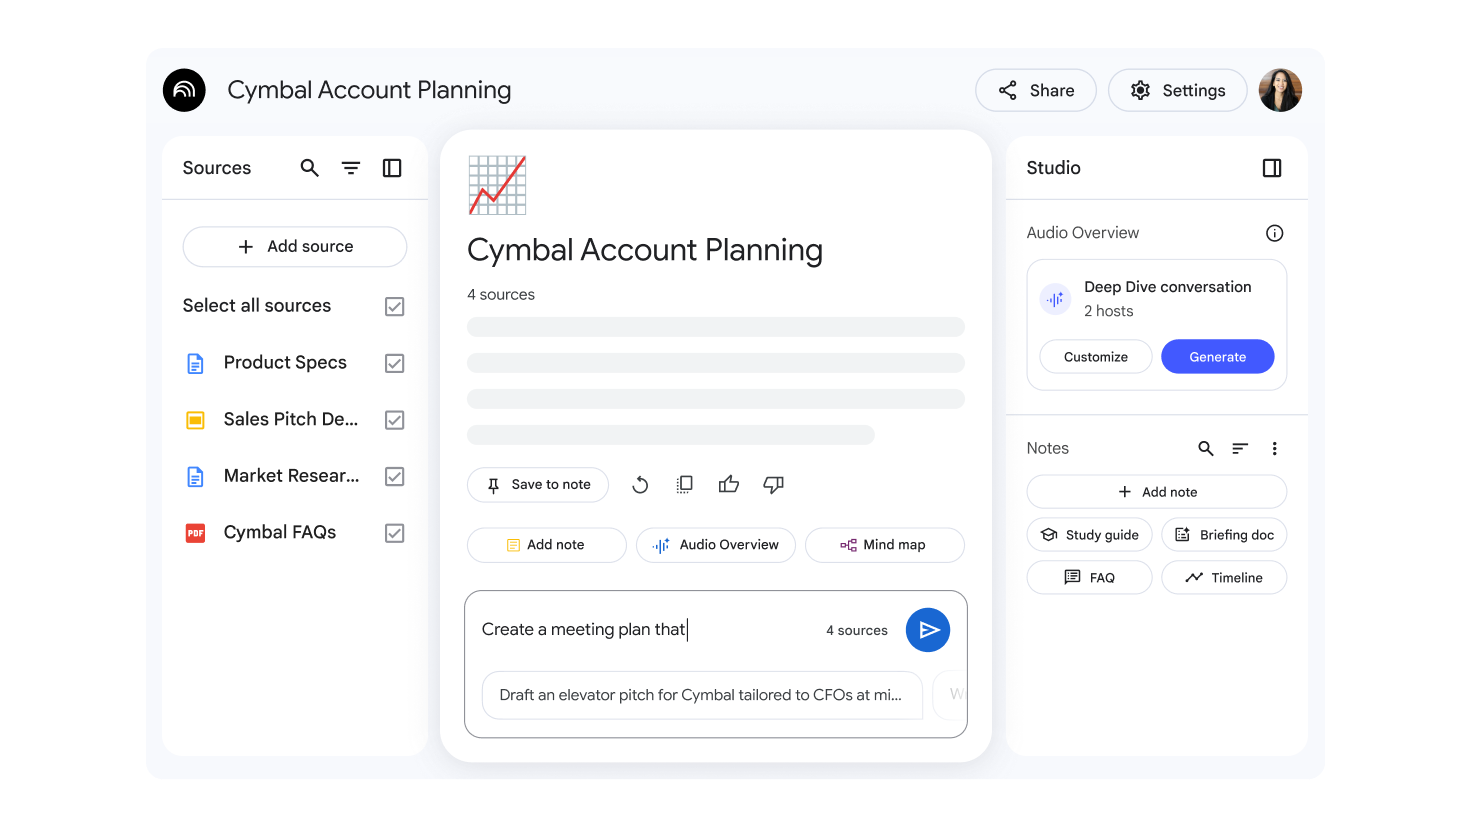
- Start collaborating:
- Chat: In the “Chat” panel, you’ll find an automatic summary of your sources. Here you can ask questions or give commands related to the content.
- Studio: The “Studio” panel allows you to generate various formats from your sources:
- Audio summary. A personalized Podcast about your notebook’s topic.
- Frequently Asked Questions (F.A.Q.s)
- Study Guides
- Timelines
- Documents
- Mind Maps
Tip: To modify the sources in your notebook, you can use the “+ Add” button or choose specific sources directly in the “Sources” panel.
Share Notebooks
- Open a notebook.
- Select Share.
You can grant View or Edit access to another user by adding their email address.
- A viewer can only read the source documents and notes that have been shared with them.
- An editor can view, add, delete sources and notes, and also share the notebook with others.
- Owners and editors of notebooks updated to NotebookLM Pro can share a “Chat-only” notebook with viewers and customize a welcome message for those who access it.
Tip:
- When sharing a notebook with an internal Google Group that includes users external to your organization, they will also be able to access the shared notebook.
- Personal Gmail accounts allow sharing a notebook with a maximum of 50 individual users, but not with Google Groups.
- On the other hand, Enterprise and Education accounts (e.g., email@mycompany.com or email@myuniversity.edu) have the ability to share notebooks with an unlimited number of individual users and with Google Groups within the same organization.