Sheets
Creating your first spreadsheet
Create or import a spreadsheet
Create and name your spreadsheet
- On your computer, open a Google Docs, Sheets, Slides, Forms, or Vids home screen.
- Click Create +.
- You can also:
- Create a file from a template
- Use a template in Google Vids
- You can also:
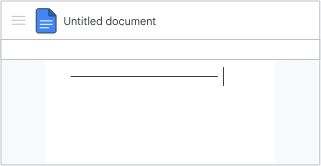
At the top of the page, click Untitled document and enter a new title.
Import and convert an existing spreadsheet
Converting your file from another program creates a copy of your original file in Docs, Sheets, or Slides format. You can then edit the file in your browser.
If you have existing files, you can import and convert them to Docs, Sheets, or Slides.
- Go to Drive.
- Click New, then File upload.
- Choose the file you want to import from your computer to add it to Drive.
- In the Upload complete window, click Show file location.
- Right-click the file and select Open with, then Google Docs/Sheets/Slides.
Do you have a Microsoft file?
If you have already saved Microsoft files to Drive, you can also update them without converting.
Add tabs to your spreadsheet
- Work with more than one sheet in a single spreadsheet file by adding tabs.
- At the bottom of your spreadsheet, click Add sheet to add another tab.
Add or update content in a spreadsheet
Add or update data
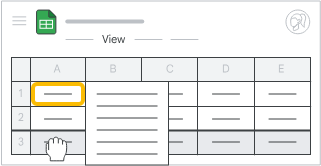
- Open a spreadsheet in Google Sheets.
- Click an empty cell or double-click a non-empty cell.
- Start typing.
- Optional: To add another line within a cell, press ⌘ + Enter on a Mac or Ctrl + Enter on Windows.
- When you’re done, press Enter.
Organize data
- Add rows, columns, and cells:
- Select the row, column, or cell near where you want to add your new entry.
- Right-click the highlighted row, column, or cell, then Insert, then choose where to insert the new entry.
- Delete, clear, or hide rows and columns:
- Right-click the row number or column letter.
- Click Delete, Clear, or Hide.
- Delete cells:
- Select the cells.
- Right-click, then Delete cells, then Shift left or Shift up.
- Move rows or columns: Select the row number or column letter and drag it to a new location.
- Move cells:
- Select the cells.
- Place your cursor at the top of the selected cells until a hand appears.
- Drag the cells to a new location.
- Group rows or columns:
- Select the rows or columns.
- Click View, then Group, then Group rows or Group columns.
- Freeze header rows and columns:
- Keep a row or column in the same place as you scroll through your spreadsheet.
- On the menu bar, click View, then Freeze, and choose an option.
Add formulas or functions
- Open a spreadsheet.
- Type an equals sign (=) in a cell and type the function you want to use.
Note: You might see suggested formulas and ranges based on your data.
Use Gemini to generate and organize content
- On your computer, open a spreadsheet in Google Sheets.
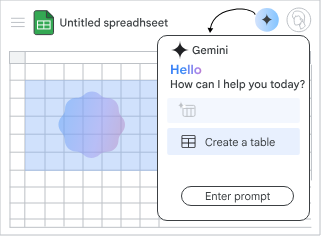
- At the top, click Ask Gemini.
- Select a prompt or create your own. For example:
- “Create a framework for researching a sales lead to prepare for a client meeting.”
- “Set up a task tracker to build a new website.”
- “Plan a launch event for the sales team.”
- Press Enter.
- Choose an option:
- To add the table to your spreadsheet, click Insert.
- To create a different version of the table, click Retry.
- Click Good suggestion for a table that meets your request or Bad suggestion for a table that doesn’t meet your needs.
- When you’re done, click Insert.
Share and collaborate on a spreadsheet
Share a spreadsheet with specific people
Note: Sharing options vary by group size:
- Up to 100: Allow up to 100 people with view, edit, or comment permissions to work on a Google Docs, Sheets, or Slides file at the same time.
- 100 or more: When 100 or more people access a file, only the owner and some users with editing permissions can edit it. To allow more than 100 people to view your file at the same time, publish it as a web page.
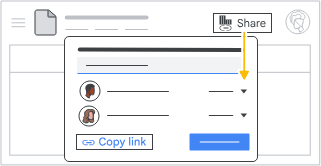
- Select the file you want to share.
- Click Share.
- Enter the email address or Google Group you want to share with.
- To decide what role people will have in your file, select Viewer, Commenter, or Editor.
- If your account is eligible, you can add an expiration date for access.
- Choose whether you want to notify people.
- If you want to notify the people you shared an item with, check the box next to Notify people. If you notify people, each email address you enter will be included in the email.
- If you don’t want to notify people, uncheck the box.
Click Send or Share.
Share a link to a spreadsheet
You can choose whether your file should be available to anyone or restricted only to people with access. If you allow access to anyone with the link, your folder will not restrict who can access it.
- Select the file you want to share.
- Click Share or Share.
- Under “General access”, click the down arrow.
- Choose who can access the file.
Tip: If you use your Google account for work or school, you can choose to share files and folders only with a specific audience, such as your department. You might find a description of each audience when you hover over the group name.
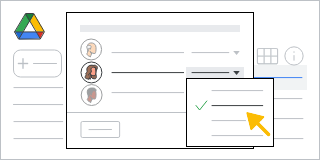
- To decide what role people will have in your file, select Viewer, Commenter, or Editor.
- Click Done.
Stop sharing a spreadsheet
Stop sharing a document you own
- Find the file or folder in Google Drive, Google Docs, Google Sheets, or Google Slides.
- Open or select the file or folder.
- Click Share or Share.
- Find the person you want to stop sharing with.
- To the right of their name, click the down arrow, then Remove access.
- Click Save.
Restrict access to a spreadsheet you own
- Find the file or folder in Google Drive, Google Docs, Google Sheets, or Google Slides.
- Open or select the file or folder.
- Click Share or Share, then Copy link.
- Under “General access”, click the down arrow.
- Select Restricted.
- Click Done.
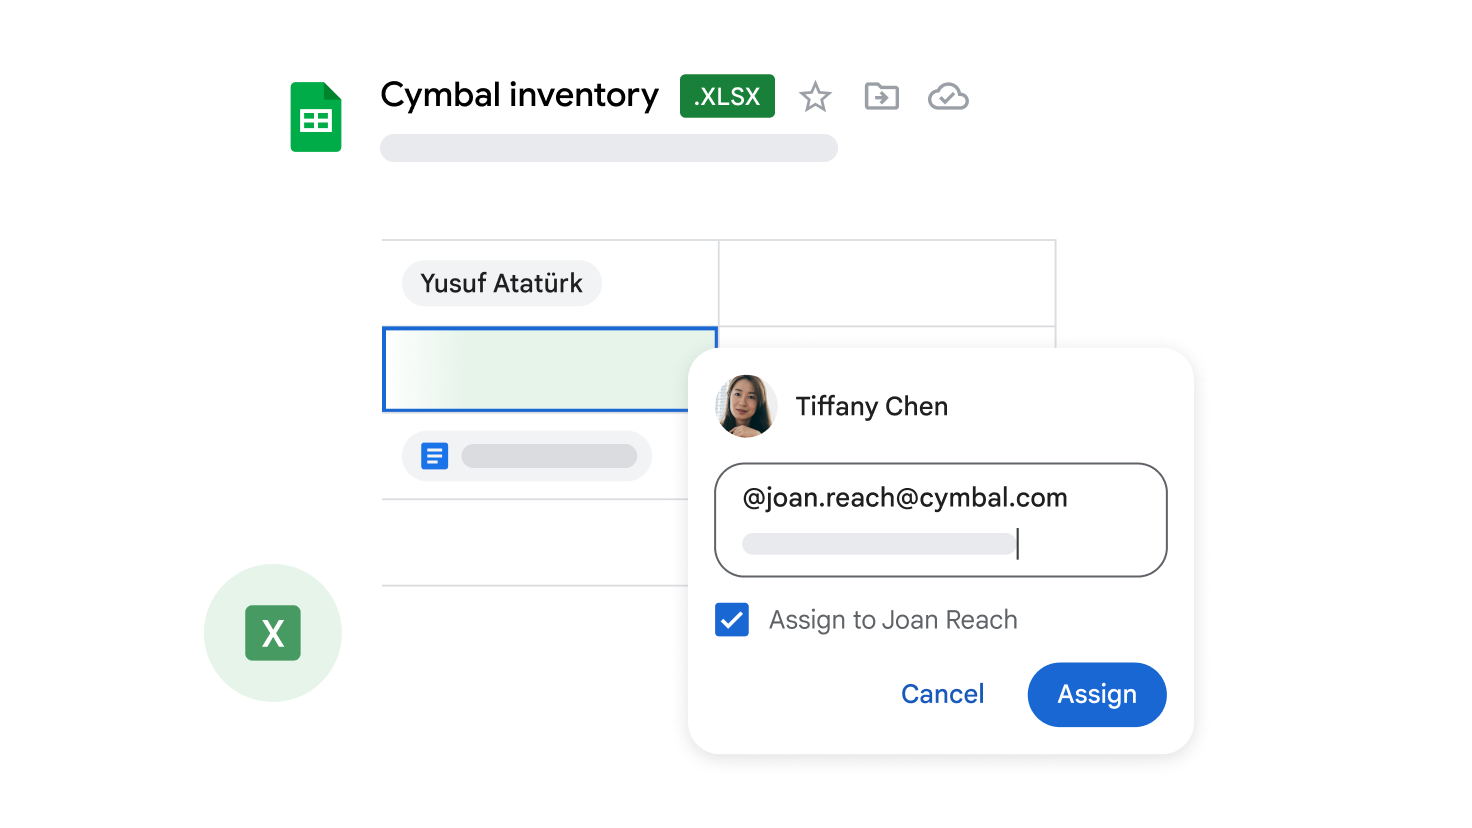
Comment on a spreadsheet
- On your computer, open a document, spreadsheet, presentation, or video.
- Highlight the text, images, cells, slides, or scenes you want to comment on.
- To add a comment, in the toolbar, click Add comment.
- Type your comment.
- Click Comment.
Chat with collaborators in a spreadsheet
- On your computer, open a document, spreadsheet, or presentation.
- In the top right, click Show chat. This feature won’t be available if you’re the only one in the file.
Tip: If there are many collaborators in the file, in the top right, to the right of the avatars, there will be a blue circle showing the number of additional collaborators.
- Click the blue circle, then Join chat.
- Enter your message in the chat box.
- When you’re done, in the top right of the chat window, click Close.
Note: All chats in Google Docs, Sheets, and Slides include anyone viewing the file. Chats are not saved.

Gemini commands in Sheets
- On your computer, open a new spreadsheet or tab in Google Sheets. The Ask Gemini sidebar will open automatically.

- Enter a prompt. For example:
- Imagine you’re preparing for a meeting with a new client. Create a framework for researching the client’s company to create a sales lead.
- Click Create.
- (Optional) Click Refine, then choose how you want Gemini to change the content.
- When you’re done, in the preview, click Insert.